
Note: All tools used are linked at the bottom of the post.
Deus Ex: The Conspiracy (2002) is the PlayStation 2 port of the original Deus Ex. While it can't be said to have been an improvement over the original as it had to be simplified for a console release, it had some interesting additions. Most notably the character models and the cinematic cutscenes that replaced the Intro and the three ending sequences--Merge with Helios, Illuminati Rule, and A New Dark Age. In this post I will demonstrate how to extract these four videos from the game.
Locating the video files
- Insert the PS2 disk or mount an .ISO image file of the PS2 disk
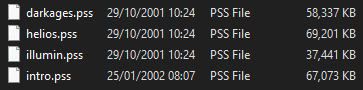
- Browse the contents of the disk to find the .PSS files (PS2 video)

- Copy these files off the disk and into a folder on your Desktop


Extracting the audio and video stream from the .PSS file
- Extract the contents of the PSS Demux archive and run PSS_demux.exe

- Drop the .PSS files onto the window

- The window will now display the progress of the conversion and will inform you once it is done


- In the folder, there should now be video (in .M2V) and audio files (in .WAV) for each of the cutscenes


Combine the audio and video stream into one file using MKVToolNix (simple/GUI)
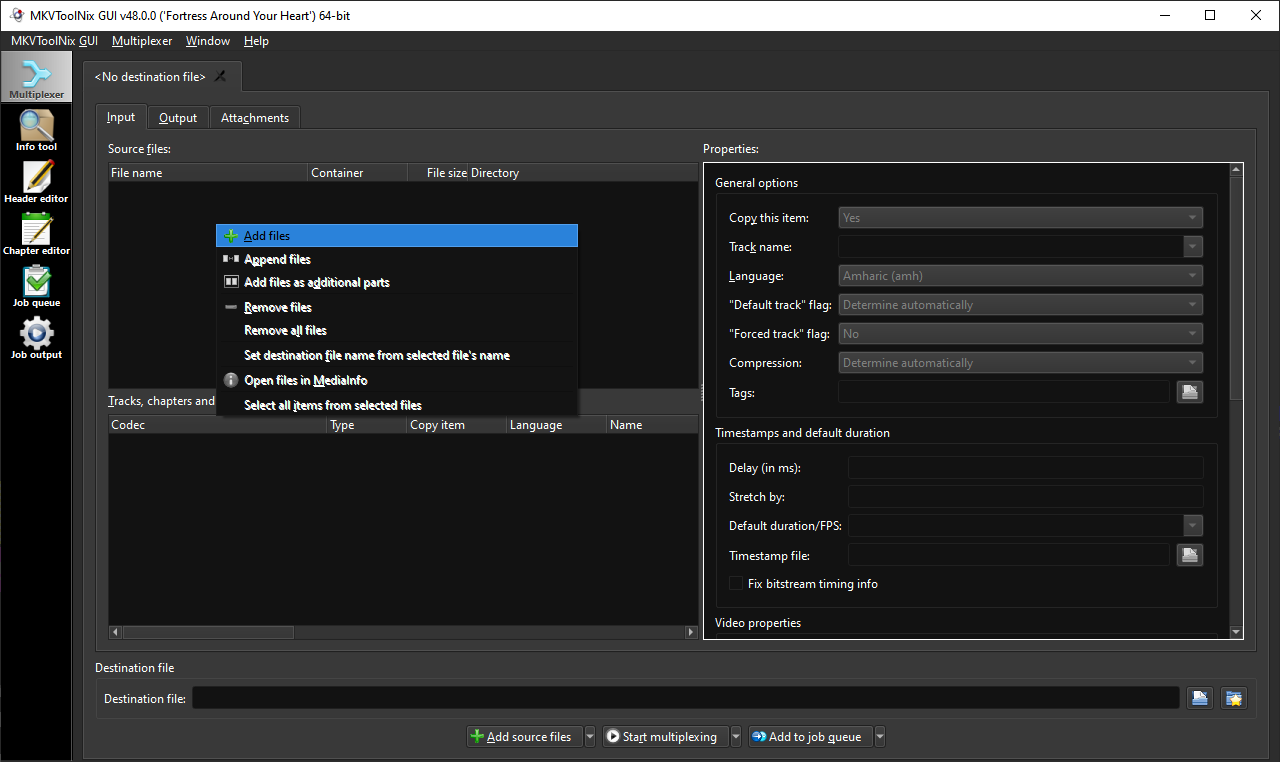
- Open MKVToolNix > Multiplexer tab > Source files > right click the box > select Add files

- Select the video and audio stream for a specific cutscene, in this example I chose the Helios ending > click the Start Multiplexing button at the bottom

- When the progress bar at the bottom right says 100% it should be complete

- In the output folder, there will be an .MKV file that has the audio and video combined

- It can now be played as normal


Combine the audio and video stream into one file using FFmpeg (complex/CLI)
Note: This method assumes you already have FFmpeg installed and accessible via Command Prompt (it has been added to your path environmental variable). If you don't, here are installation instructions for Windows.
- In the same folder as all the video and audio streams, go to the address bar at the top where it displays the folder directory, and type in cmd. This opens up a Command Prompt window with the directory automatically set to the folder.

- Enter the following command, replacing the name with what video and audio you want to combine, for example for the Intro cutscene:
ffmpeg -i intro.m2v -i intro_pcm.wav -c:v copy -shortest output.mp4
- Upon running the command, the progress will be shown in the cmd window
 Note: You can also create a batch script and save it in the folder to do all of them in one go, for example:ffmpeg -i intro.m2v -i intro_pcm.wav -filter:v "crop=640:360:0:60" -c:v copy -shortest -c:v libx264 -pix_fmt yuv420p intro.mp4ffmpeg -i darkages.m2v -i darkages_pcm.wav -filter:v "crop=640:360:0:60" -c:v copy -shortest -c:v libx264 -pix_fmt yuv420p darkages.mp4ffmpeg -i illumin.m2v -i illumin_pcm.wav -filter:v "crop=640:360:0:60" -c:v copy -shortest -c:v libx264 -pix_fmt yuv420p illumin.mp4ffmpeg -i helios.m2v -i helios_pcm.wav -filter:v "crop=640:360:0:60" -c:v copy -shortest -c:v libx264 -pix_fmt yuv420p helios.mp4
 This script not only merges the audio and video, it also crops the black bars at the top and bottom of the video, leaving the final .MP4 output with a 16:9 aspect ratio.
 - Once complete, within the folder there should now be a video called output.mp4 which has the video and audio streams combined into one file

- It can now be played as normal

- Rename the output.mp4 file and repeat the same process with the rest of the files


View the results on YouTube:
Note: I'm currently in the middle of upscaling these to 4K, they will be uploaded soon and I will update this post with instructions on how to do this.
Upscaled example:
Tools
- PSS Demux:
https://www.zophar.net/utilities/ps2util/pss-demux.html - MKVToolNix:
https://mkvtoolnix.download/downloads.html - FFmpeg:
https://www.gyan.dev/ffmpeg/builds/ffmpeg-git-full.7z
No comments:
Post a Comment